Manage tags
After reading this topic you will know:
-
How to create and edit tags.
-
Where to assign a tag to a client.
-
How to delete a tag.
Tags are a way to group and organise clients within Sage for Accountants.
For example, you could create a tag for late payers and assign it to a selection of clients. You’d be able to see on the client list a visual indicator of your late paying clients.
Create tags
You can create up to 10 tags.
-
Select Settings, then Manage tags.

-
Select Create a tag.
If you already have 10 tags, you won't be able to create another until you delete an existing one.
-
Enter a name for the tag. Each tag much have a unique name and be no longer than 20 characters.

-
Choose a colour for the tag.
-
Select Save.


Assign a tag to a client
There are 2 ways to assign tags.
Assign a tag from the client list
-
Find your client in the client list, then select Edit tags from the Actions menu.
-
From the Assign tags list, select all the tags you want this client to have.

-
Select Save.

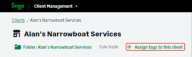
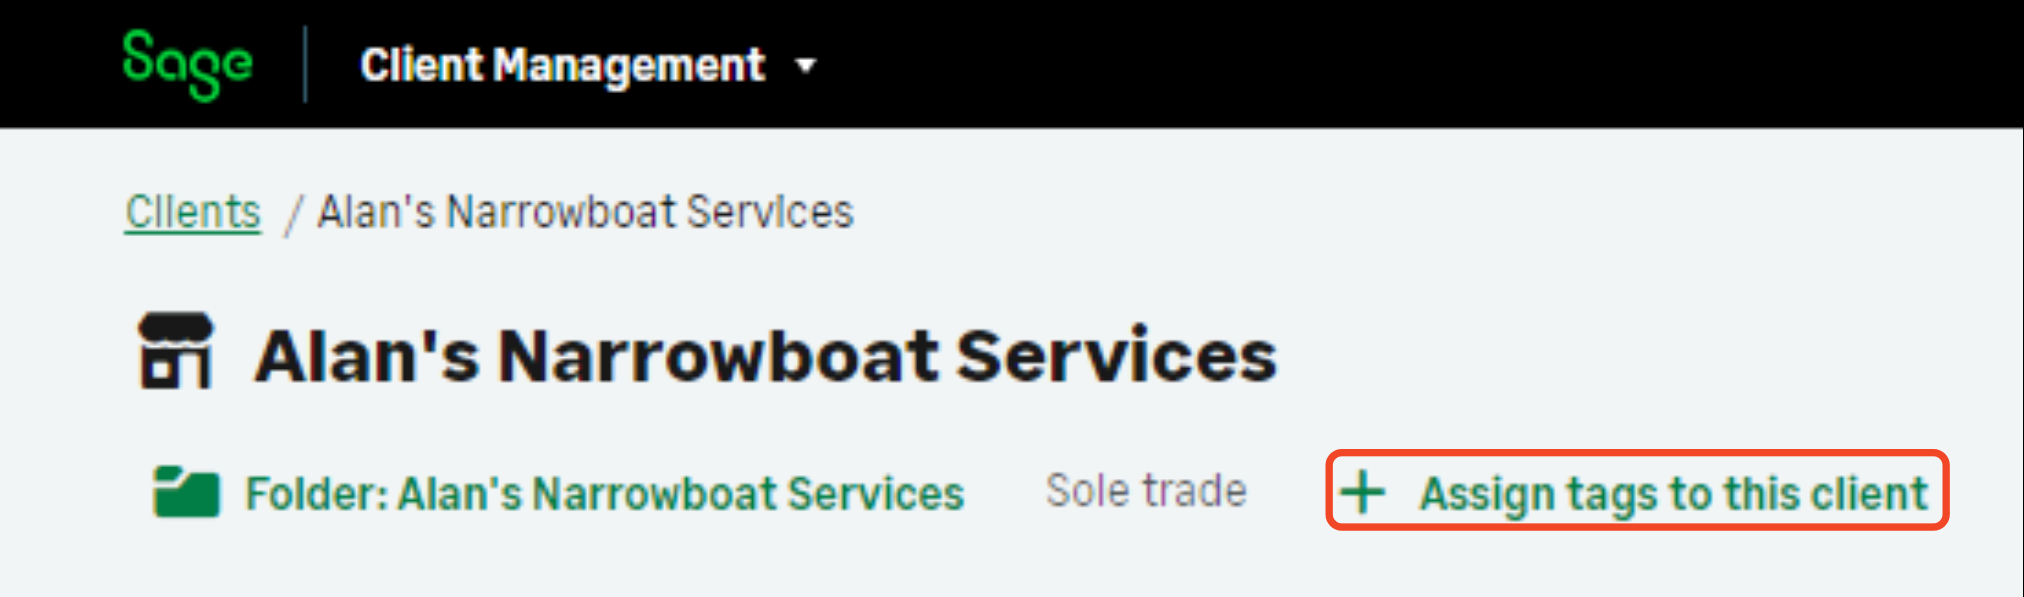
Assign a tag from the client record
-
Select your client from the client list.
-
From the Client actions menu, select Edit tags.
 Note:
Note:If this is the first tag you're adding, select Add tags to this client.
-
From the Assign tags list, select all the tags you want this client to have.
-
Select Save.

Delete a tag
You might want to delete a tag if it becomes irrelevant, or if you've reached the 10 tag limit and need to create a new one.
-
Select Settings, then Manage tags.
-
Select Delete.

-
Select Save to delete.
Deleting a tag that is assigned to any clients, will remove the tags from those clients.
